Okita.ninja
Welcome to a simple place where I do things.
Git Stuff
So if you don’t already have git then you should go to GitSCM and get it.

After that install it and in your start menu you should have a new Git Bash thing that’s just a window with text.

Press the windows key, to open the start menu, then type git and you’ll see git related apps appear.
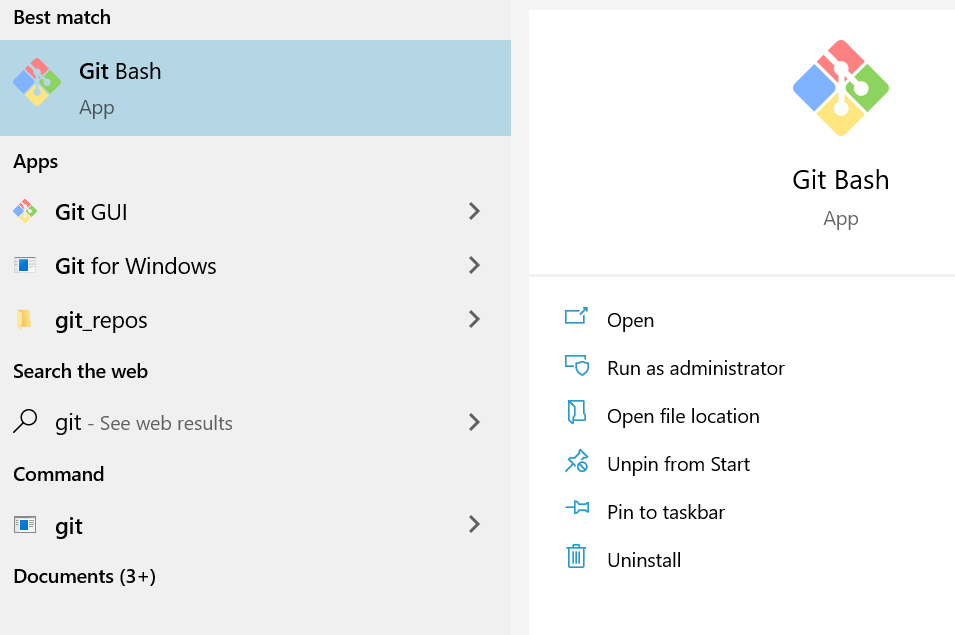
Open that and you’ll get some window for entering commands. This is the git bash console.
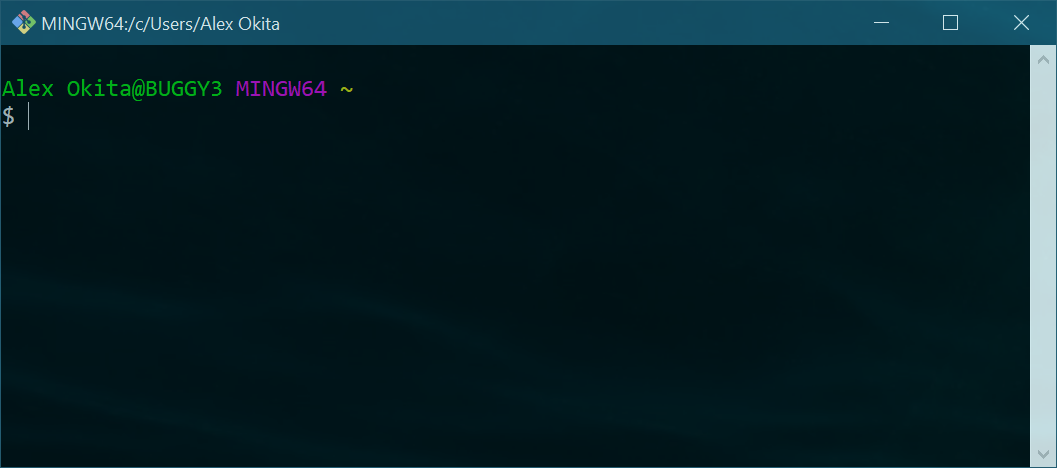
It’s not much but it’s a thing. So lets look at entering some commands.
Git Console Basics:
pwd
This lets us know what directory we’re currently in. For me this looks like

So this shows that im in /c/Users/Alex Okita which has a space, so that’s lame, so we’ll want to avoid that. Git and many command line scripting need extra typing to deal with spaces so lets avoid that by creating a new directory under /c/
cd /c/
The cd command means change directory, and we ask for /c/ which is the root of your hard disk.
use pwd again and check that we’re in the right place, you should see /c
In here we want to type
mkdir git_repos
This means Make Directory named git_repos so we can store all the different code repos here.
After the directory is made we type cd git_repos and go into the git_repos directory.
now that we’re in the repo type in:
git clone https://github.com/badkangaroo/MessingWithUnity.git
you can copy and paste the above line into your Git Bash to make sure you get the right repo.
to paste in Git Bash middle click the mouse. the usual Ctrl+V don’t work in Git Bash land.

You should see the above…
cd MessingWithUnity
and we’re in the git repo. 👏 yay.
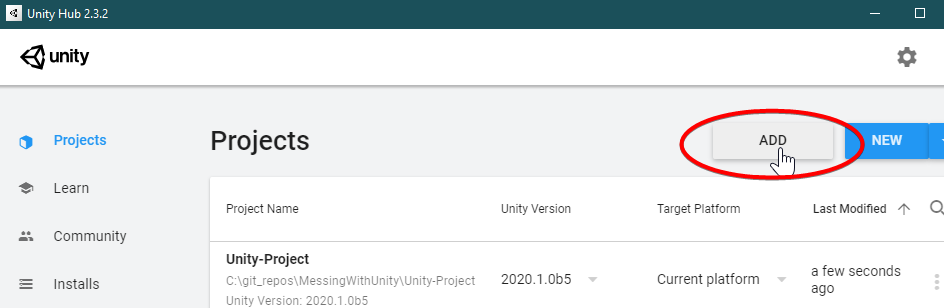
Open Unity Hub
In the Unity Hub click on Add
Then select the Unity-Project in the repo.
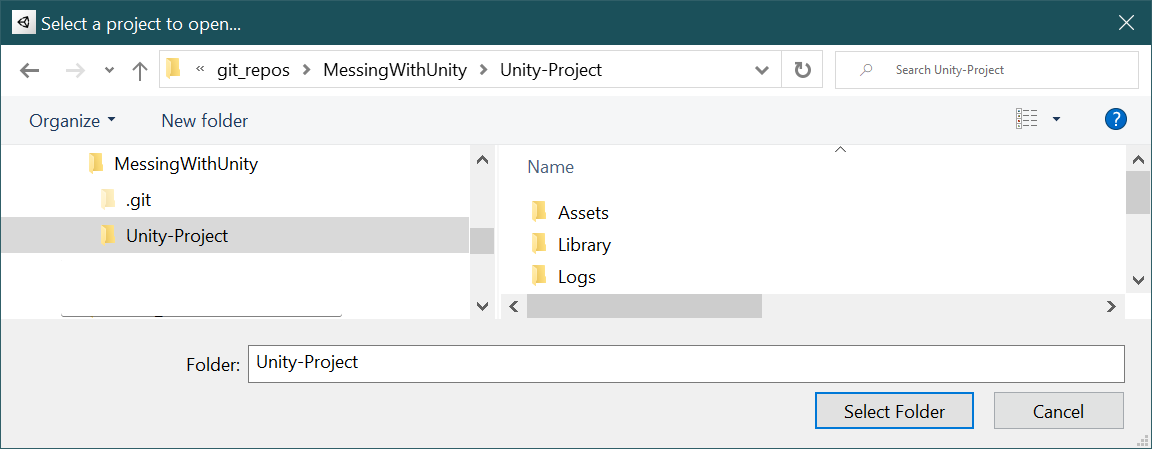
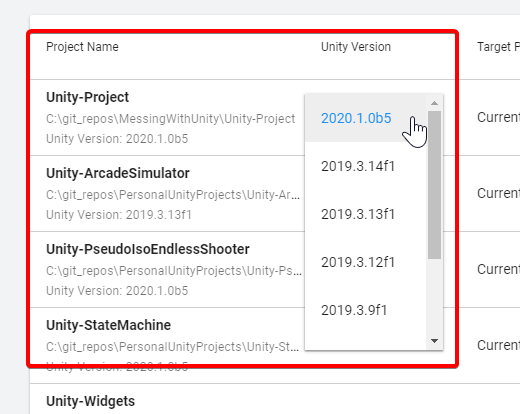
You might need to chage the version of Unity that it’s asking for, but we’re not doing anything that changing versions will break yet. So set the version of unity to whatever you have.
Click on the new project title, Unity-Project and the editor will launch and open the project!
🎉yay.